A Cake Worthy of a Fairy Tale
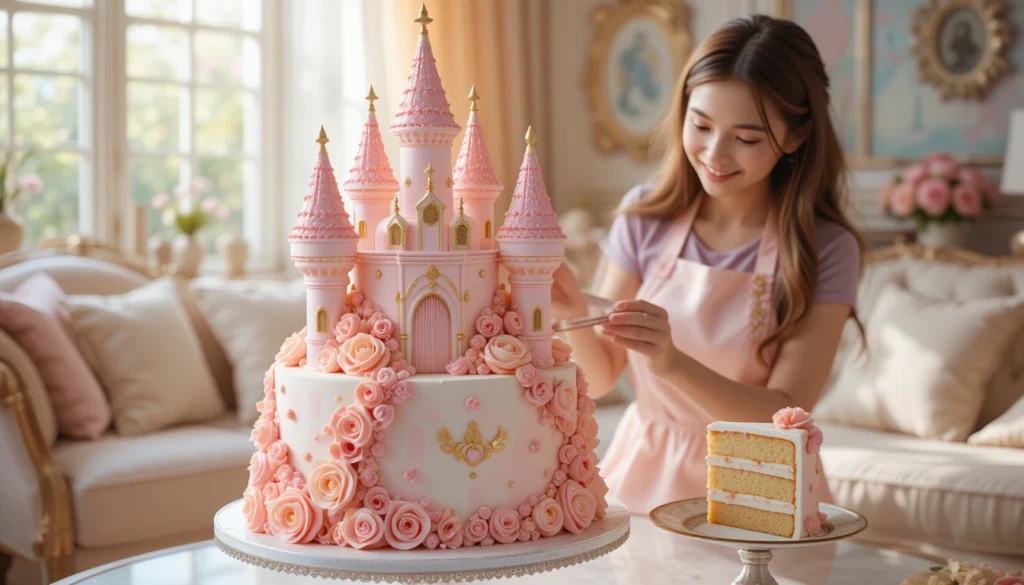
Dreaming of a show-stopping cake that will wow both kids and adults? The fairy tale castle cake is the perfect centerpiece for a magical birthday, a romantic wedding, or any enchanting celebration. With its elegant towers, delicate sugar flowers, and dreamy details, this cake transports you straight into a storybook world.
In this article, discover how to create this masterpiece step by step, with expert tips and decorating ideas to turn your cake into a true edible castle.
This type of cake is perfect for children’s birthdays. Discover more decorations on our Pinterest page.
Ingredients: What You Need for a Fairy-Tale Cake 🏰
")
For the Sponge Cakes (Castle Base)
- 300g flour
- 200g sugar
- 5 eggs
- 150g melted butter
- 1 packet baking powder
- 1 pinch of salt
- 200ml milk
- 1 tsp vanilla extract
For the Cream and Ganache (Filling & Coating)
- 250g mascarpone
- 100g powdered sugar
- 250ml heavy cream
- 200g white chocolate
- Pink or gold food coloring (optional)
For the Decoration (Enchanting Details)
- White and pink fondant
- Ice cream cones (for the towers)
- Edible pearls
- Sugar flowers
- Edible glitter
- Wooden skewers to secure the towers
Step-by-Step Recipe: Build Your Castle Cake 🏗️
")
1. Preparing the Sponge Cakes
- Preheat the oven to 180°C (350°F).
- Beat the eggs and sugar until the mixture becomes pale and fluffy.
- Gradually add flour, baking powder, and salt.
- Mix in melted butter and milk until smooth.
- Pour the batter into two round cake pans (one larger, one smaller) and bake for 30–35 minutes.
- Let them cool before unmolding.
✨ Pro Tip: For extra moistness, lightly soak the sponge cakes with vanilla syrup once cooled.
2. Assembling the Cake Layers 🎂
- Slice each sponge cake in half and fill with mascarpone cream.
- Stack them, securing the layers with support rods (sturdy straws or plastic dowels).
- Cover the entire cake with a thin layer of ganache to smooth the surface.
- Roll out the fondant and carefully drape it over the cake.
3. Creating the Castle Towers 🏰
- Take ice cream cones and cover them with pink fondant.
- Attach them to the cake using wooden skewers or melted chocolate.
- Add small doors and windows made of fondant for extra detail.
🛠️ Technical Tip: To prevent towers from falling, insert toothpicks or wooden skewers inside the cones and push them firmly into the cake.
4. Final Decoration: The Magical Touch 🌟
- Place sugar roses and gold pearls around the layers.
- Lightly dust with edible glitter for a magical effect.
- Add a tiny flag or a sugar star on the main tower.
")
🌸 Design Tip: A subtle airbrush gradient effect can add depth and elegance to your cake!
Variations & Customization 🎨
Want to adapt this cake to a different theme? Here are some ideas:
")
- Frozen Castle Cake: Use blue and white shades with snowflake sugar decorations.
- Medieval Fortress Cake: Opt for a stone-textured fondant in neutral colors.
- Unicorn Princess Castle: Add pastel colors and rainbow elements.

Mistakes to Avoid & Pro Tips 🚨
✔️ Don’t overload the structure: Too many decorations can make the cake unstable.
✔️ Secure the towers properly: Use melted chocolate as an edible glue.
✔️ Don’t over-moisten the fondant: It can become sticky and hard to work with.
")
Conclusion: Bring the Magic of Cake Design to Life! 🎠
This castle cake is more than just dessert—it’s a work of art that will impress your guests. Whether you’re a baking enthusiast or a cake design lover, this guide will help you create a cake that’s as beautiful as it is delicious.
")
FAQ & Reader Questions ❓
Can I make this cake the day before?
Yes! You can prepare the cake a day in advance. Store it in a cool, dry place, away from humidity. If you need to refrigerate it, make sure to take it out at least an hour before serving so it can reach room temperature.
How do I make decorations stick?
Melted chocolate, royal icing, or ganache are great for securing castle towers and other decorations. For delicate sugar flowers or small details, edible glue works best.
What type of cake pan works best for this design?
Springform pans are ideal for easy and clean unmolding. A combination of an 8-inch (20 cm) and a 6-inch (15 cm) pan works well for a tiered effect, creating a stable base for the castle.
How can I make the fondant smoother?
Knead the fondant well before rolling it out to remove air bubbles. Use cornstarch or powdered sugar to prevent sticking, and smooth it over the cake with a fondant smoother for a flawless finish.
What’s the best way to prevent towers from falling?
To keep the towers stable, insert wooden skewers or lollipop sticks inside the cones and press them firmly into the cake. For extra security, you can “glue” them with melted white chocolate or royal icing.
Can I use buttercream instead of fondant?
Yes! Buttercream can be piped to create a textured castle look. However, fondant gives a smoother and more polished finish, making it easier to achieve intricate designs.
How do I achieve an elegant color gradient on the cake?
An airbrush with food coloring is the best way to create a smooth ombré effect. Alternatively, you can blend different shades of fondant while rolling it out for a soft transition between colors.
How can I make the cake sturdier for transport?
Insert plastic dowels or thick straws inside the bottom tier to support the weight of the upper layers. Transport the cake in a sturdy box with non-slip padding to keep it secure.
What alternative flavors can I use for this cake?
You can customize the cake flavors based on preference. Some popular options include:
- Chocolate sponge with chocolate ganache
- Lemon sponge with raspberry filling
- Red velvet with cream cheese frosting
- Almond cake with white chocolate mousse
How do I store leftover cake?
Wrap leftover cake slices tightly in plastic wrap and store them in the fridge for up to three days. For longer storage, freeze slices in an airtight container for up to three months.
")
Troubleshooting Common Issues 🛠️
My fondant is cracking. How can I fix it?
Cracked fondant usually happens when it’s too dry. Knead a small amount of vegetable shortening (or a few drops of glycerin) into the fondant to restore flexibility. If cracks appear on the cake, smooth them out with a small amount of water on your fingertips.
The towers are leaning. How do I keep them straight?
Leaning towers can be caused by soft cake or unstable supports. Use wooden skewers or thick straws inside each tower to hold them in place. Make sure the cake layers are level before stacking. If the towers are still tilting, let them set in the fridge for 15-30 minutes before final assembly.
My fondant is sticky and hard to roll. What should I do?
If fondant is too sticky, it’s likely due to humidity or too much moisture. Dust your work surface with cornstarch or powdered sugar. If the fondant is too warm, let it sit for a few minutes before rolling it out again.
The cake is bulging under the fondant. How do I prevent this?
Bulging happens when air or soft fillings push against the fondant. To avoid this, let the cake settle for at least 1-2 hours before covering it with fondant. Lightly press the fondant onto the cake and smooth out any trapped air bubbles with a pin or cake smoother.
How do I fix fondant air bubbles?
Use a fine pin or toothpick to gently pop the bubble, then smooth it out with your fingers or a fondant smoother. If bubbles keep appearing, roll the fondant slowly to prevent air from getting trapped.
My buttercream is too soft, making it hard to decorate. What can I do?
Soft buttercream can make the cake unstable. Chill it in the fridge for 15-30 minutes before adding decorations. If it’s still too soft, beat in more powdered sugar to thicken it, or reduce the amount of liquid in your recipe.
The fondant is tearing when I place it on the cake. How do I fix it?
Tearing happens when the fondant is too thin or dry. Roll it slightly thicker and make sure it’s well-kneaded before applying. If tears occur after placing it on the cake, use a bit of water and smooth the area gently, or cover it with a decorative element like flowers.
How do I keep the cake from drying out?
Cover the cake with plastic wrap or store it in an airtight container. If you need to refrigerate it, place it in a cake box before putting it in the fridge to prevent it from absorbing moisture or odors.
My fondant decorations are losing their shape. What should I do?
Fondant decorations can soften if exposed to too much humidity. Allow them to dry at room temperature for several hours before attaching them to the cake. If you need them to dry faster, place them in front of a fan or use a small amount of tylose powder in the fondant to help it harden.
How do I prevent condensation on my cake?
If your cake is coming out of the fridge, avoid touching it until the condensation evaporates naturally. Keep it in a cool, dry place and use a fan to speed up the drying process if needed.
Your Feedback Inspires Us, Share It!
There are no reviews yet. Be the first one to write one.